Introduction
Welcome to our comprehensive guide for customizing the List View feature in Empress. This feature, generated for all DocTypes except Child Tables and Single DocTypes, offers a range of functionalities including filters, sorting, paging, and more. In this guide, we will delve into the technical depth of this feature, exploring how you can efficiently integrate it into your software development and customization processes.
Why Customize List View?
Customizing the List View in Empress allows you to tailor the presentation of data to your specific requirements. This customization can enhance user experience, improve data management, and streamline backend functionality. Whether you are modifying the view to include additional fields, setting default filters, or configuring visibility settings, each adjustment adds a layer of efficiency to your software solution.
Standard List JS
To begin customization, you need a {doctype}_list.js file located in the doctype directory. This file houses all the options that can be customized.
For instance, let’s say you want to customize the Note DocType. You would create a file named note_list.js with the following contents:
frappe.listview_settings['Note'] = {
    // add fields to fetch
    add_fields: ['title', 'public'],
    // set default filters
    filters: [
        ['public', '=', 1]
    ],
    hide_name_column: true, // hide the last column which shows the `name`
    onload(listview) {
        // triggers once before the list is loaded
    },
    before_render() {
        // triggers before every render of list records
    },

    // set this to true to apply indicator function on draft documents too
    has_indicator_for_draft: false,

    get_indicator(doc) {
        // customize indicator color
        if (doc.public) {
            return [__("Public"), "green", "public,=,Yes"];
        } else {
            return [__("Private"), "darkgrey", "public,=,No"];
        }
    },
    primary_action() {
        // triggers when the primary action is clicked
    },
    get_form_link(doc) {
        // override the form route for this doc
    },
    // add a custom button for each row
    button: {
        show(doc) {
            return doc.reference_name;
        },
        get_label() {
            return 'View';
        },
        get_description(doc) {
            return __('View {0}', [`${doc.reference_type} ${doc.reference_name}`])
        },
        action(doc) {
            frappe.set_route('Form', doc.reference_type, doc.reference_name);
        }
    },
    // format how a field value is shown
    formatters: {
        title(val) {
            return val.bold();
        },
        public(val) {
            return val ? 'Yes' : 'No';
        }
    }
}
Custom List JS
You can also customize the list view through Client Script, which is useful when the customization logic is specific to your site. For sharing List view customizations across multiple sites, you would integrate them via Apps.
To create a new Client Script, navigate to:
Home > Customization > Client Script > New
After applying the above customizations, your List View should look similar to the following image:
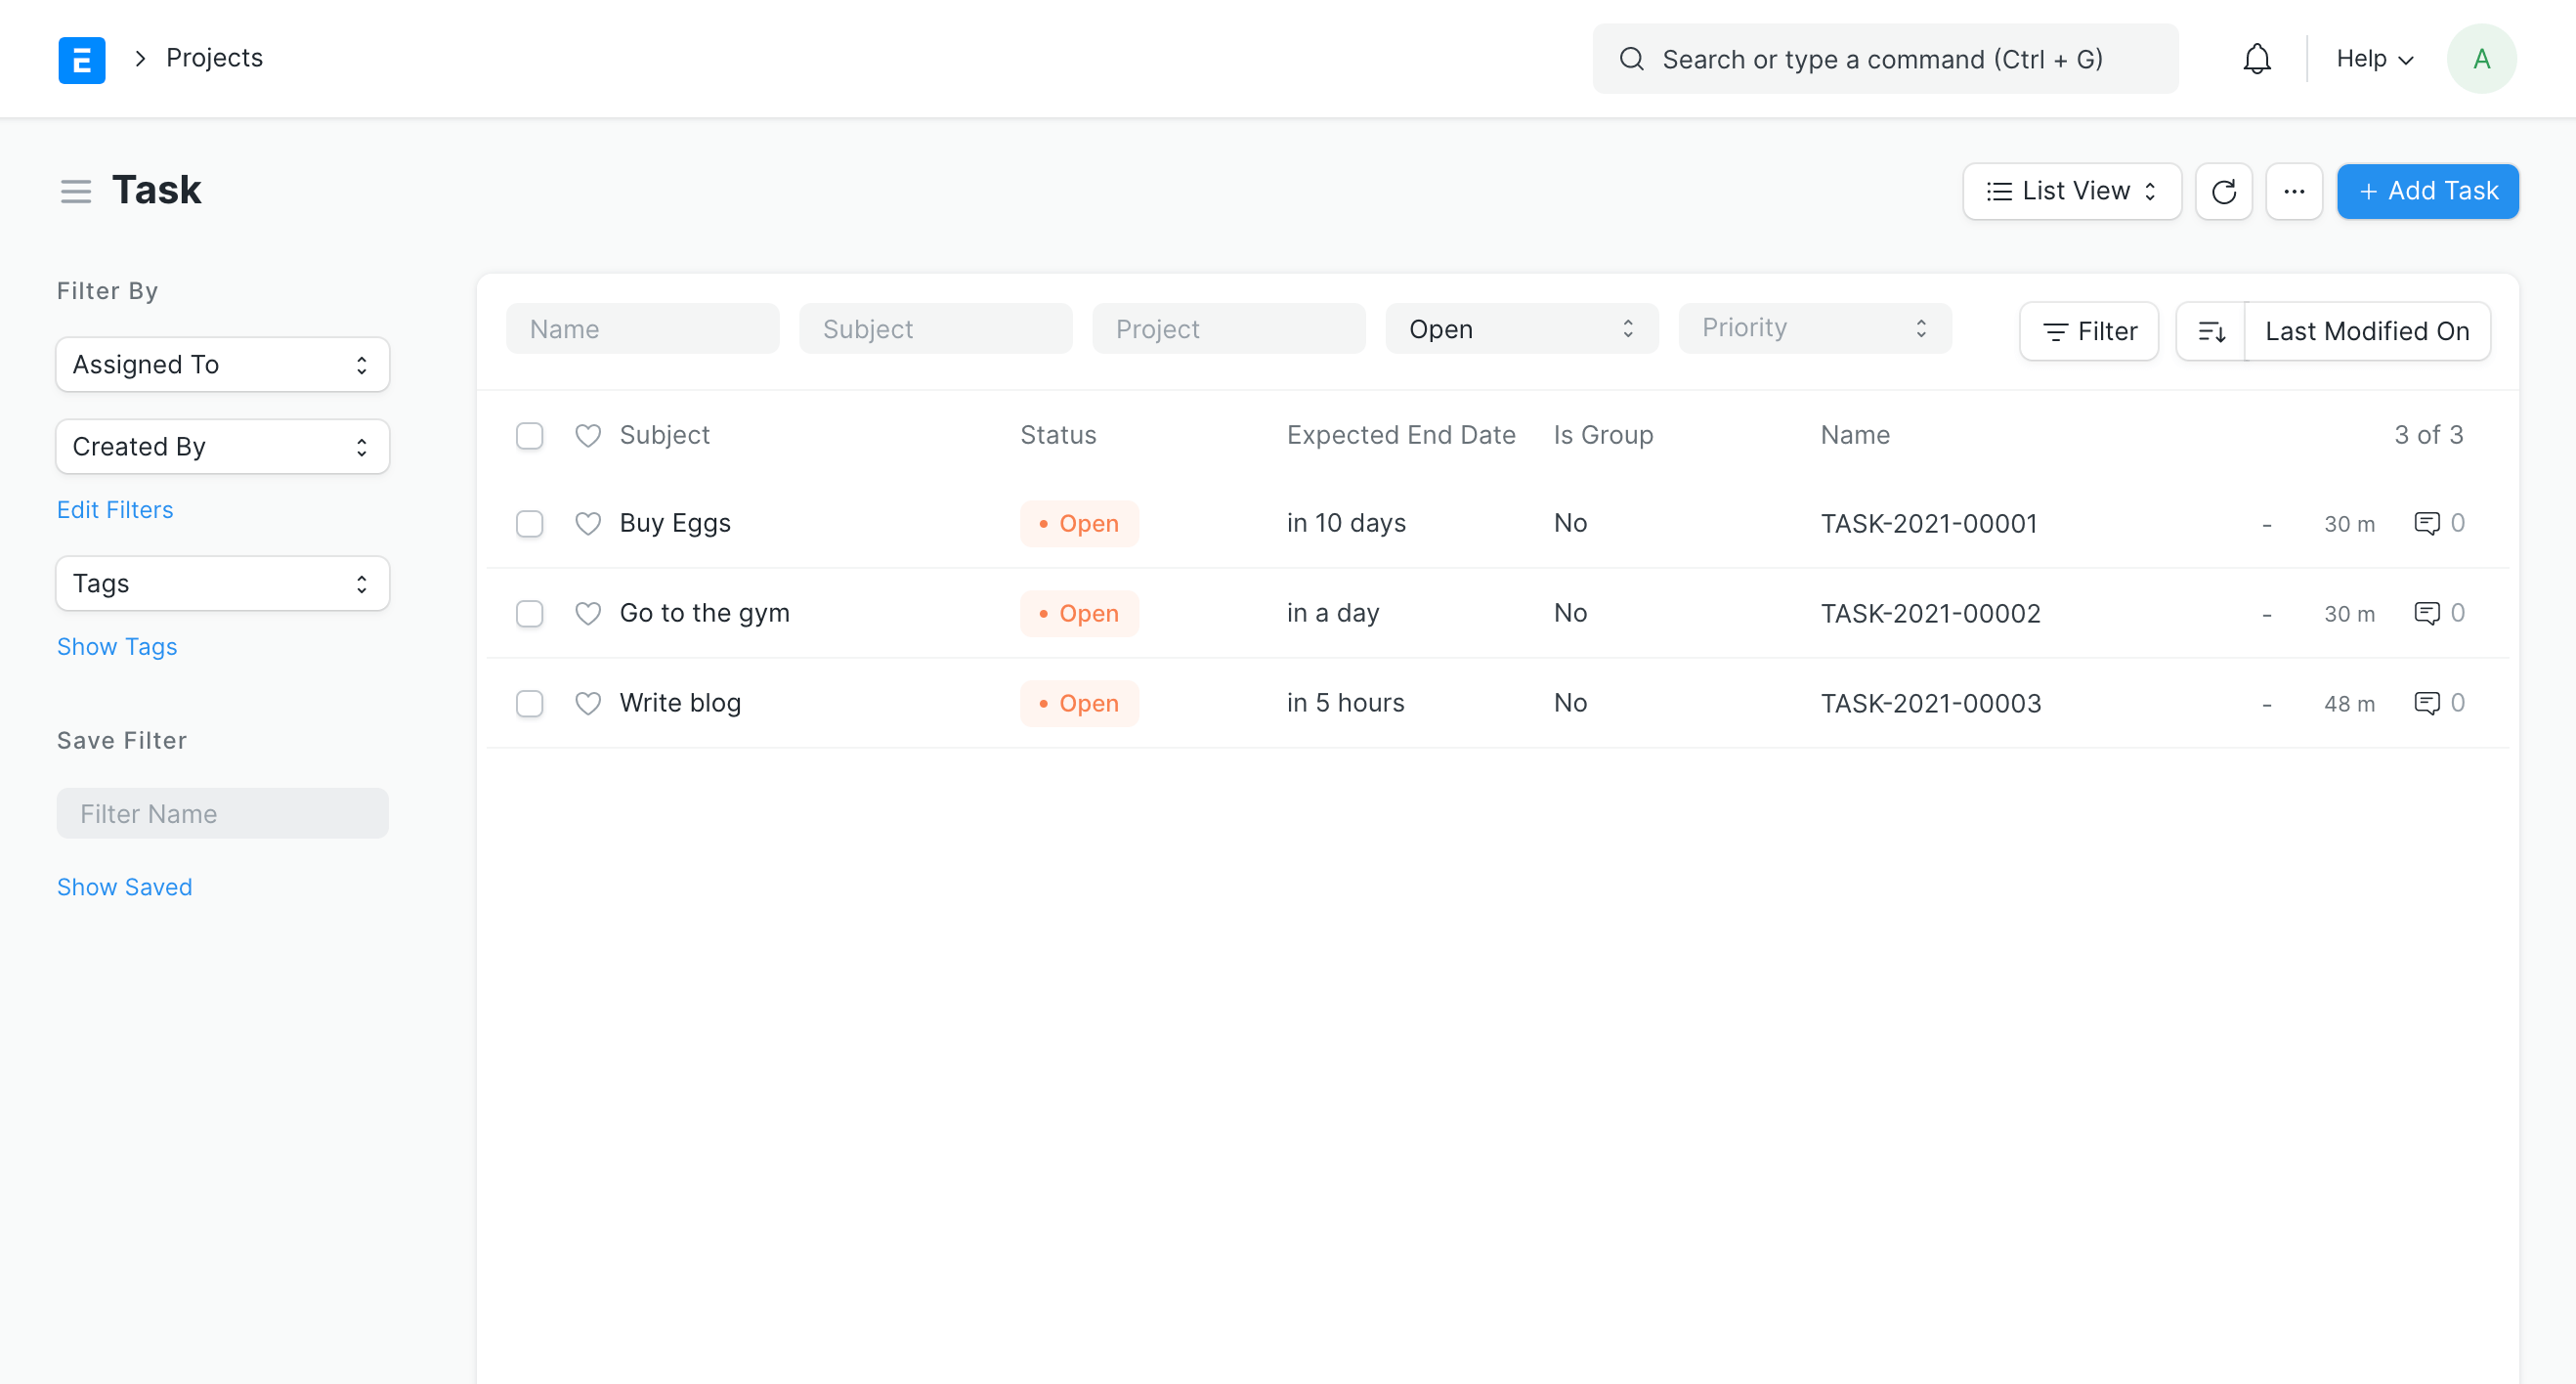 List View Customized
Conclusion
Customizing the List View feature in Empress can significantly enhance your software development workflow, providing a tailored and efficient way to manage and display data. By understanding and applying the functionalities of this feature, developers can leverage its robust capabilities to improve the overall efficiency of their software solutions.