Introduction
Welcome to this comprehensive guide on setting up generators in Empress. As a developer, understanding the functionality of generators and how to set them up is crucial for building web pages that are linked to documents in a table (DocType).
Understanding Generators
In Empress, every document in a table (DocType) can correspond to a web-page. This functionality is achieved through the use of generators.
A generator is a tool that allows developers to dynamically create web pages based on the data stored in a DocType. This feature offers a streamlined way to manage and display data on web pages, enhancing the overall efficiency of the development and customization process.
Setting Up a Generator
To set up a generator, you must follow these steps:
1. Add a route field: This field specifies the route of the page.
2. Add a condition field: This field indicates whether a page is viewable or not.
3. Add the doctype name in website_generators in hooks.py of your app: This allows the generator to recognize and use the DocType.
4. Subclass the controller from frappe.website.website_generator.WebsiteGenerator: This step makes use of the WebsiteGenerator class from the frappe.website module.
5. Create a template for your page: The template defines the structure and layout of the page.
6. Add custom properties (context) for the template: These properties provide additional data and functionality to the template.
7. Customize route and list view: This step allows you to further customize the path and appearance of the page.
Generator Implementation: An Example
Let’s dive into a detailed example to better understand how to implement these steps.
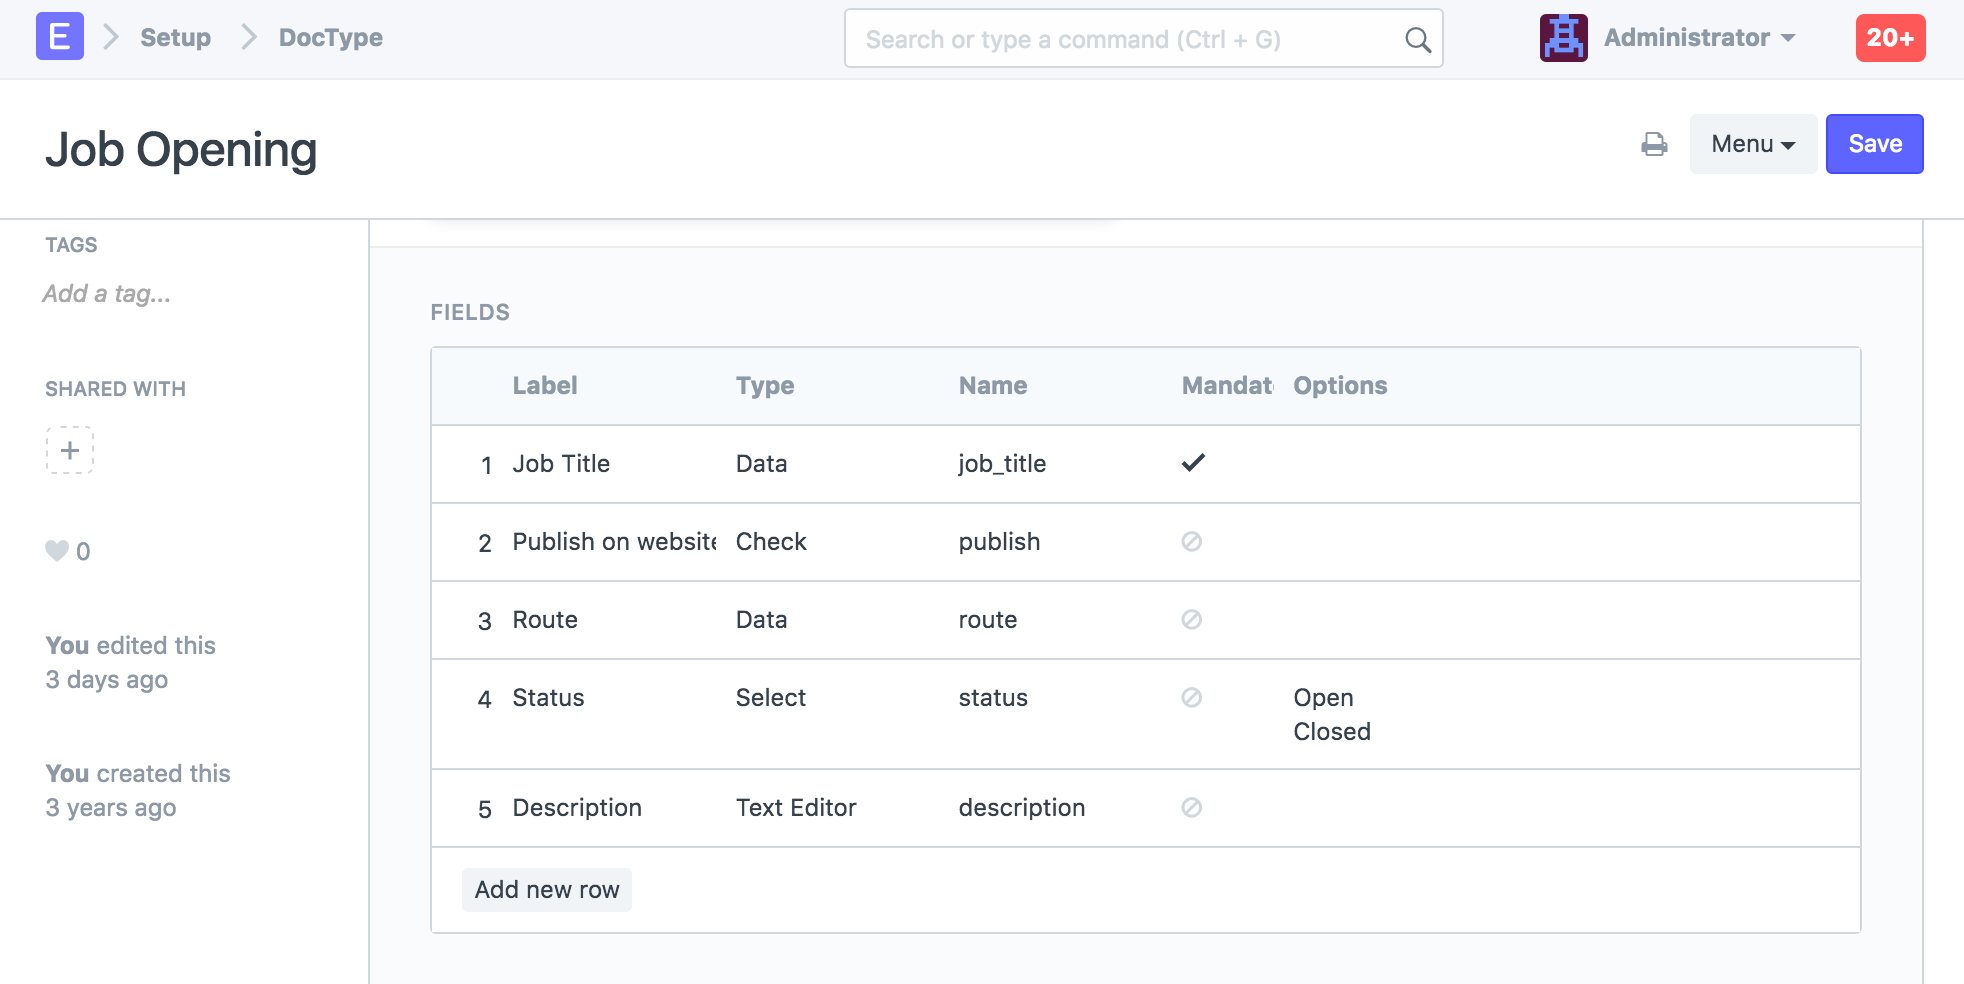
1. Add Fields
First, we need to add the published and route fields to the DocType. Note that the route field is mandatory.
2. Add Website Generator to Hooks
Next, we add the DocType to the list of website generators in the hooks.py file of our app. For instance, if we’re working with a “Job Opening” DocType in the erpnext app, we add it as follows:
website_generators = ["Item Group", "Item", "Sales Partner", "Job Opening"]
If the website_generators property does not exist in your hooks.py, be sure to add it!
3. Controller Modification
Modify the controller for the “Job Opening” class in the job_opening.py file.
from frappe.website.website_generator import WebsiteGenerator
from frappe import _

# subclass from WebsiteGenerator, not Document
class JobOpening(WebsiteGenerator):
    website = frappe._dict(
        template = "templates/generators/job_opening.html",
        condition_field = "published",
        page_title_field = "job_title",
    )

    def get_context(self, context):
        # show breadcrumbs
        context.parents = [{'name': 'jobs', 'title': _('All Jobs') }]
4. Template Creation
Create the template for your page in the erpnext/templates/generators/job_opening.html.
{% raw %}{% extends "templates/web.html" %}

{% block breadcrumbs %}
    {% include "templates/includes/breadcrumbs.html" %}
{% endblock %}

{% block header %}
<h1>{{ job_title }}</h1>
{% endblock %}

{% block page_content %}

<div>{{ description }}</div>

<a class="btn btn-primary" href="/job_application?job_title={{ doc.job_title }}">
    {{ _("Apply Now") }}</a>

{% endblock %}
{% endraw %}
5. List View Customization
Finally, customize the list view by adding a get_list_context method in the controller file (job_opening.py).
def get_list_context(context):
    context.title = _("Jobs")
    context.introduction = _('Current Job Openings')
Conclusion
Setting up generators in Empress is a powerful way to dynamically create web pages based on the data stored in a DocType. By following these steps, developers can effectively utilize this feature to enhance the efficiency of the development and customization process, contributing to the creation of more flexible and responsive business solutions.